Imagine taking that old dresser or worn-out headboard and giving it a new lease of life with just a few simple tools & a dash of imagination. Think of the satisfaction of turning a bland bedside table into a charming vintage piece that sparks joy every time you see it.
DIY furniture makeovers are more than just weekend projects; they are journeys of personal expression and sustainable living. In this blog, we dive into a world where brush strokes can rejuvenate old wood, fabric swatches can transform a room’s ambience, and the right hardware can turn a forgotten piece into the star of your bedroom.
5 DIY Ideas for Bedroom Makeovers
-
Upcycling with Paint
When breathing new life into bedroom furniture, paint can be a game-changer. But before you grab a brush, choosing the right paint for your furniture material is essential. Chalk paint works wonderfully for wood – resulting in a rustic, matte finish without a primer. A high-adhesion primer followed by acrylic or latex paint is ideal for a durable makeover for laminate pieces.
Metal furniture? Opt for spray paint that’s designed for metal surfaces – this can result in a smooth, even coat. Irrespective of the material, begin by ensuring a clean surface. Use a damp cloth to wipe down your furniture and eliminate any dust or dirt. If your piece has a glossy finish or existing paint, lightly sanding it will help the new paint adhere better.
Once your furniture is prepped, it is time to get creative. Apply your chosen paint with smooth, even strokes. A small roller can give a more uniform finish to larger surfaces. Let the first coat dry completely, then add a second coat if needed for full coverage. To protect your masterpiece, seal it with a clear topcoat – wax for chalk paint or polyurethane sealer for other paints.
For those looking to add an artistic touch, consider using stencils to apply patterns or mix & match colours for a bold, contemporary look. Chalk paint can also be distressed with sandpaper after painting – perfect for a vintage charm. -
Reimagining with Fabric
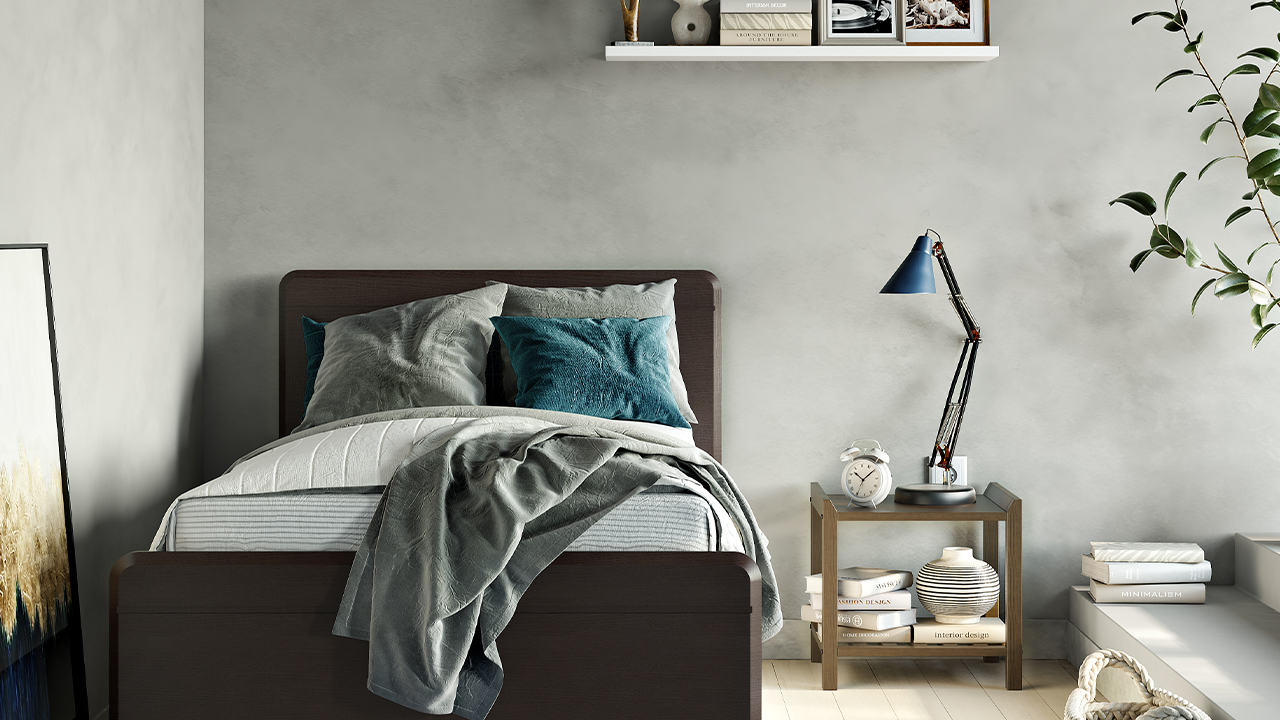
Fabric is a wonderfully versatile tool in the DIY arsenal – especially when giving a fresh, new look to bedroom furniture like headboards & chairs. For headboards, start by choosing a fabric that complements your bedroom’s theme: plush velvet for a touch of luxury, breezy linen for a minimalist aesthetic, or a bold pattern to make a statement.
The procedure entails removing the previous fabric, offering an excellent chance to examine & upgrade the padding beneath for enhanced comfort. Utilise a staple gun to affix the fresh fabric – ensuring it is stretched tightly to prevent wrinkles – and firmly secure it to the frame.
Adding decorative elements like buttons can create a tufted look for a classic, sophisticated feel. If you’re working with plain fabric, elevate its appearance with studs or nailhead trim for an edgy, modern touch. Piping along the edges can provide a neat, professional finish, and you can either use a contrasting colour for a pop of interest or match the fabric for subtle elegance. -
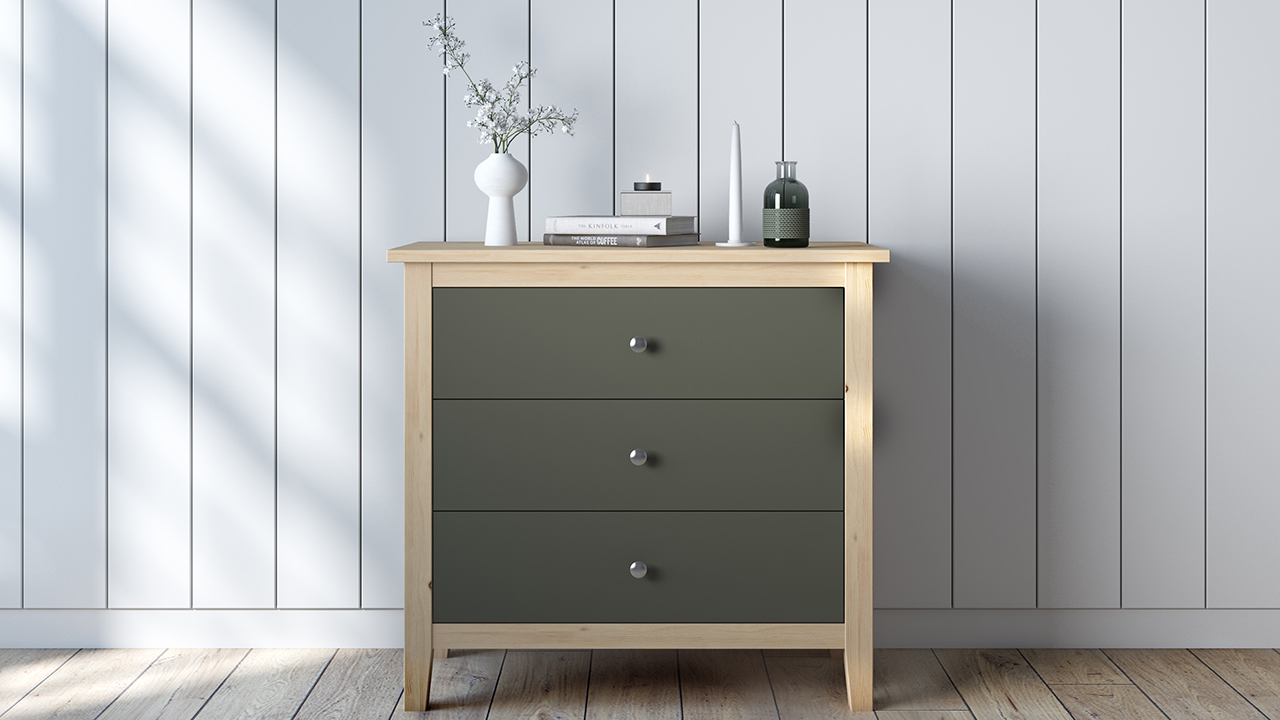
Hardware Makeover
One of the simplest yet most effective ways to transform your bedroom furniture is through a hardware makeover. Replacing the knobs, handles, & legs on pieces like dressers, nightstands, and cabinets can have a surprisingly significant impact.
Replace outdated brass handles with sleek, modern ones to give a contemporary look or go for vintage-style knobs to add character to a plain dresser. The variety of styles available is vast: from classic ceramic knobs and rustic iron handles to futuristic chrome designs and minimalist wooden pulls.
For furniture legs, switch to something more ornate for a touch of elegance, or try sleek metal legs for a modern, industrial vibe. First, remove the old hardware using a screwdriver, being careful not to damage the furniture. When replacing handles, be sure to measure the space between the screw holes to ensure a proper fit for your new hardware. You might need to fill old holes and drill new ones, if there’s a mismatch. When installing new knobs or handles, gently tighten the screws without over-torquing, as this can damage both the hardware and the furniture.
Ensure the new legs are of similar size & height, to maintain the furniture’s balance & stability. Use appropriate fittings – screws or brackets – to attach the legs securely. Remember, safety first: seek advice or assistance if you need clarification on any step. -
Decoupage for a Unique Touch
This is a fantastic way to add a unique, artistic touch to your furniture. It entails adorning furniture by adhering paper cut-out designs to them and subsequently sealing them with multiple layers of varnish. Whether you opt for vintage images, colourful patterns, or custom-made artwork, decoupage infuses your style into furniture pieces.
First, choose the furniture piece you want to transform. It could be a table, chair, or even a wooden box. Next, select the decorative paper or napkins with designs that resonate with your style & the furniture’s theme. Carefully cut out the designs you want to use. Next, apply a fine coat of adhesive to the area where you intend to position the design, and gently press the paper or napkin onto it.
Smooth out any wrinkles or air bubbles using your fingers or a gentle brush. After applying all your designs, allow them to dry. Lastly, safeguard the surface with multiple coats of varnish, ensuring each layer dries completely before applying the next. This not only preserves the designs but also imparts a splendid, glossy finish to your furniture. -
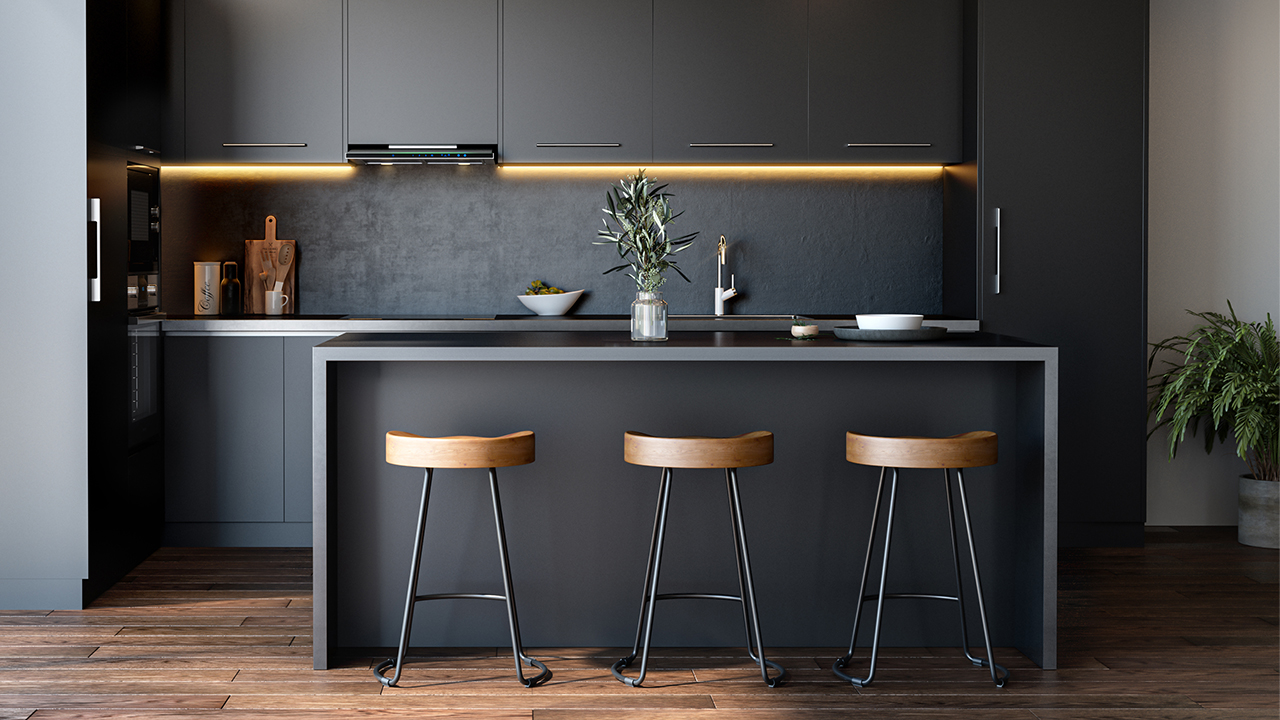
Creating Storage Solutions
If you’re running out of storage space in your bedroom, you can add extra storage without buying new furniture – in innovative and budget-friendly ways. First, add drawers or shelves to your existing pieces. For example, if your dresser has extra room underneath, you can build or install pull-out drawers that fit perfectly. This added storage can be used for clothes, accessories, or even shoes.
Floating shelves are another brilliant option. Install them on empty walls to display decor items, books, or small essentials. They save floor space and add a modern & stylish touch to your room. If you’re feeling adventurous, you can learn some basic carpentry skills to handle these modifications yourself.
Start with simple projects like building a bookshelf or installing floating shelves. You will need tools like a saw, a drill, screws, and brackets. Measure accurately, follow safety precautions, and take your time to ensure a professional-looking result. As your confidence grows, you can tackle more intricate endeavours such as crafting custom wardrobes or constructing built-in closets. These DIY storage solutions not only declutter your bedroom but also give you the satisfaction of creating a more organised and functional space.
Conclusion
Embarking on a DIY furniture makeover journey can be a blissful and rewarding experience. These imaginative concepts provide you with the opportunity to refresh your bedroom and help you infuse your distinct personality & style into your environment.
Whether you’re into rustic charm, modern elegance, or bohemian flair, there’s a DIY furniture makeover idea that will resonate with you and transform your bedroom into a personalised sanctuary. After all, there’s nothing quite like the satisfaction of witnessing your vision come to life in the space where you rest & recharge every day.